A featherboard is a safety and precision tool commonly used in woodworking, particularly when using power tools like table saws, routers, or jointers. It helps maintain consistent pressure on the workpiece, keeping it pressed against the fence or table, ensuring smooth, accurate cuts. The adjustable fingers of the featherboard apply even pressure without obstructing the tool’s movement, reducing the risk of kickback and improving safety.
Featherboards are essential for making precise cuts on narrow or uneven boards, as they help maintain a steady feed rate and prevent the wood from shifting during the cutting process. They come in various designs, with some models featuring magnetic bases for easy attachment, while others are clamped directly to the tool or table.
For woodworkers seeking increased accuracy and safety, a featherboard is an indispensable addition to any workshop.
Our Top Featherboard Picks
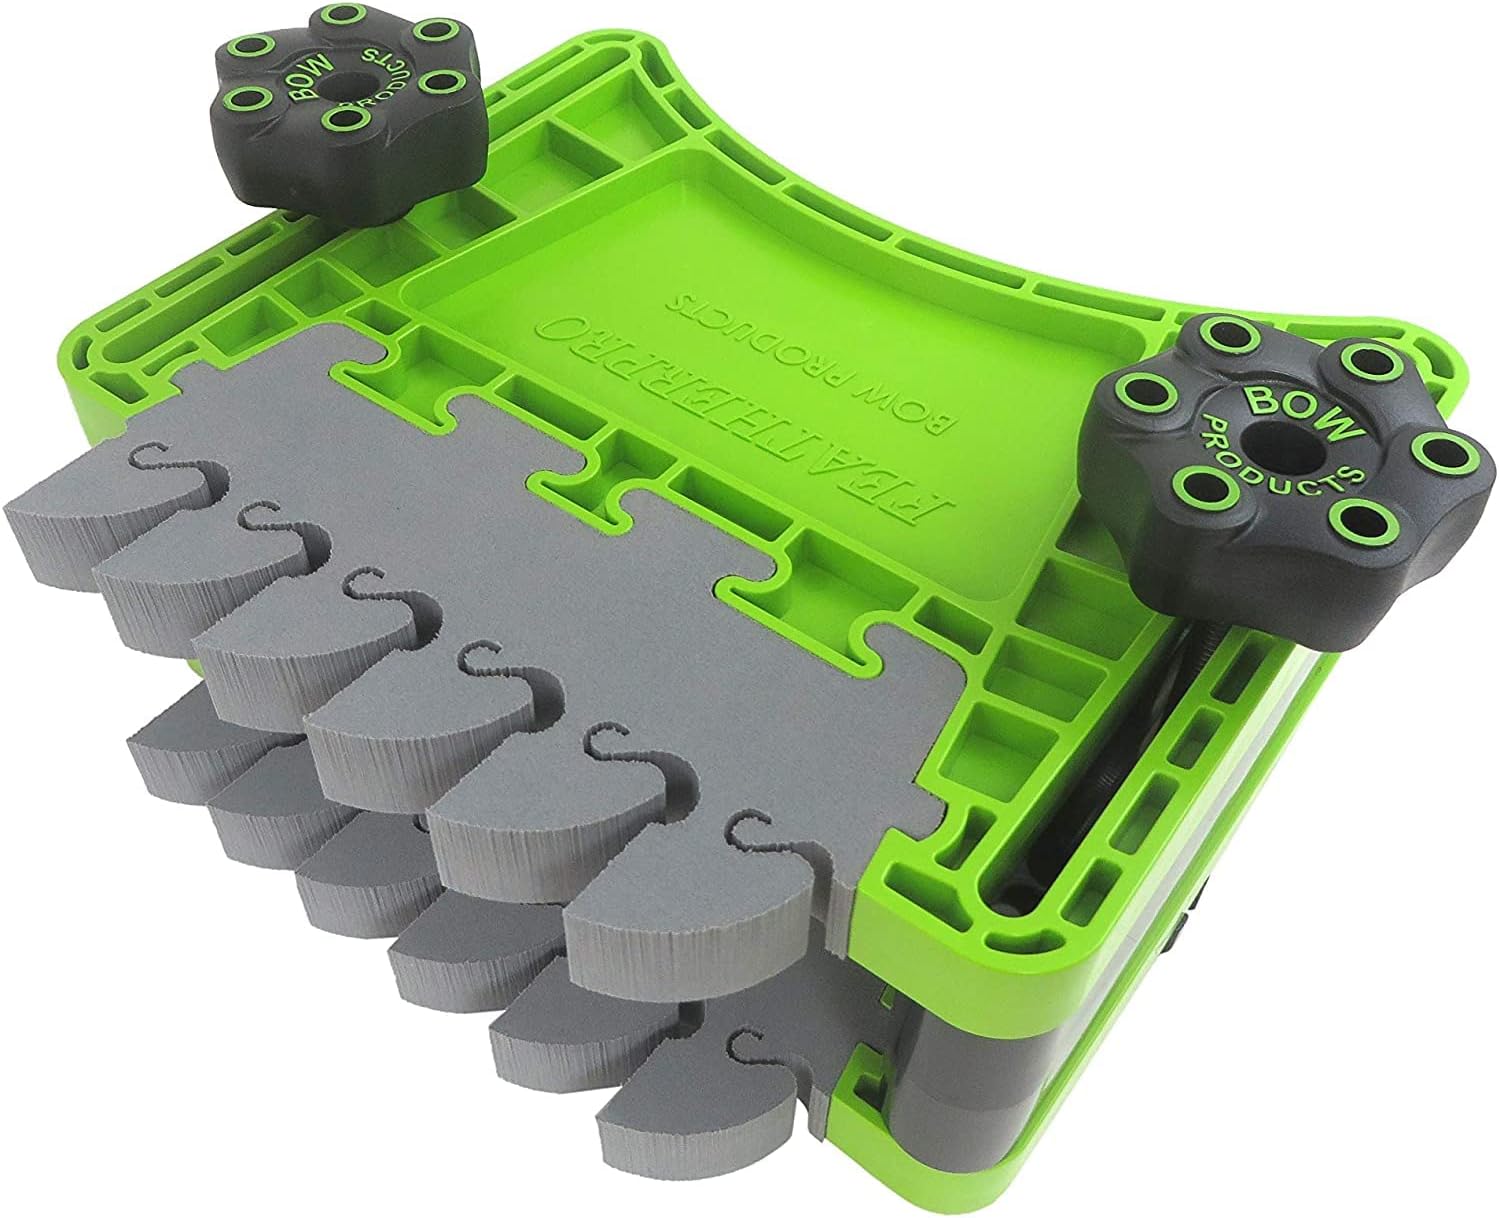
BOW Products FeatherDUO FP3 – Featherboard
Check on AmazonKey Specs
- Kickback Prevention: The EVA high-density foam combined with the unique living hinge design allows FeatherDUO to securely pinch the board against the fence, absorbing kickback forces. This offers 5x greater kickback resistance than plastic or wood feathers, ensuring safer operations.
- Ultimate Feed Control: The EVA feathers increase surface contact on the workpiece, allowing for smoother gliding and superior infeed control, reducing wobbling or wobble that can be caused by plastic feathers.
- Clean Cuts: The EVA material absorbs vibration and minimizes chatter, resulting in cleaner, more precise cuts. The non-marring feathers ensure your workpiece is not damaged, even with softer woods.
- Feather Features & Safety: The reversible, replaceable, and interchangeable feathers add versatility. You can switch between UltraFLEX and Standard feathers based on your specific needs. Additionally, EVA material does not harm carbide blades or router bits, ensuring extra safety during accidental contact.
- AnchorPRO Hardware: Featuring patented
- AnchorPRO miter hardware, the FeatherDUO offers fast expansion and a super-strong hold in the miter slot. It also includes T-bolts for T-track mounts, making installation and setup quick and easy. The ergonomic knobs provide comfortable use.
The BOW Products FeatherDUO FP3 – Featherboard is an advanced and highly functional tool designed for woodworking, specifically to prevent kickback and improve feed control during cuts. With a focus on durability and safety, it offers various features that enhance the precision and ease of your work.
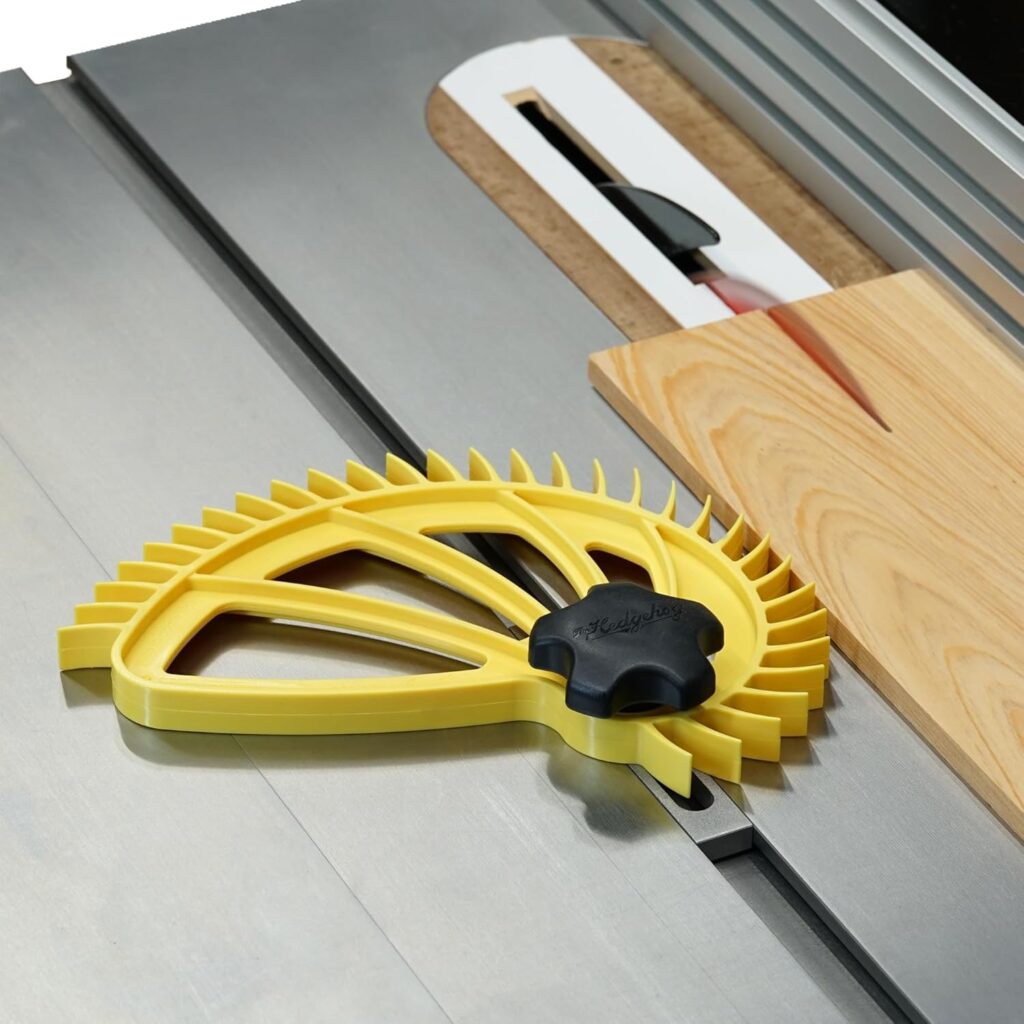
Hedgehog Featherboard
Check on AmazonKey Specs:
- Fits Standard 3/4″ Miter Slots: The Hedgehog Featherboard is designed to fit most table saws, including brands like Bosch and Ryobi. However, it is not compatible with 5/8″ miter slots, but a separate 5/8″ miter clamp is available.
- Quick One-Handed Adjustments: With a single knob and pivot point, the Hedgehog Featherboard allows for fast and seamless adjustments, making your workflow more efficient.
- Enhanced Work Quality: This featherboard ensures your workpiece is held securely, allowing for precise wood positioning and consistently high-quality cuts, making it a popular choice among both hobbyists and professionals.
- Smoother Cuts: The premium design of the Featherboard holds the wood tightly against the fence, delivering cleaner, smoother cuts and improving the overall quality of your woodworking projects.
- Safety Features: The unique spiral design helps reduce kickback, offering enhanced safety, especially when ripping on a table saw.
- American Innovation: Designed in the USA by the family-owned
- Hedgehog brand, this featherboard is protected by two U.S. patents, showcasing its innovative and reliable design.
The Hedgehog Featherboard is a high-quality, manual tool designed to enhance the safety, precision, and smoothness of your woodworking cuts. Ideal for use on table saws, bandsaws, and router tables, it is particularly appreciated for its easy adjustability and kickback prevention.
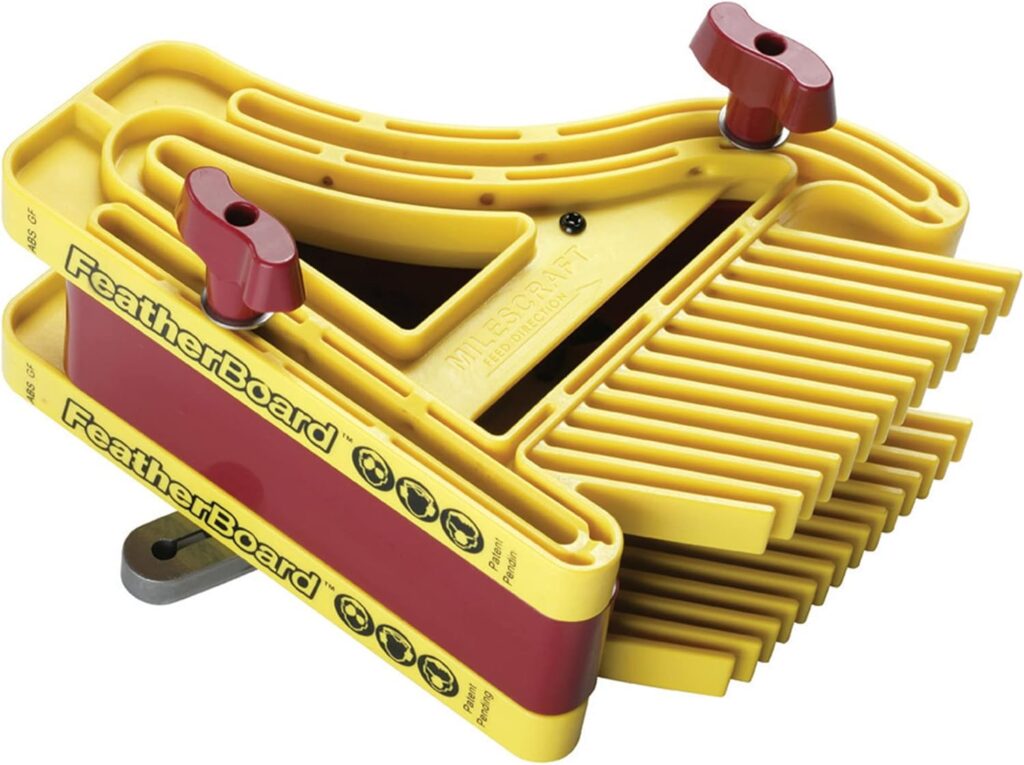
Milescraft 1407 D/T Feather Board
Check on AmazonKey Specs:
- Consistent Tension and Maximum Holding Power: The unique split rail construction provides excellent holding pressure, ensuring your workpiece stays securely in place during cuts.
- Compatible with Standard Miter Slots: The 5/8-inch and 3/4-inch metal miter bars fit all standard miter slots, offering versatile compatibility with most saws and machines.
- T-Slot Bolts: The included 1/4-inch T-slot bolts are designed to fit most table saws, router tables, and band saws, ensuring easy attachment to your setup.
- Dual Slide Motion: The featherboard features side-to-side and forward motion for quick and easy setup, allowing for precise adjustments.
- Mounting Hardware Included: The kit comes with mounting hardware for nearly any dual or tandem application, making it easy to integrate with your existing tools.
- Tandem Operation: The sturdy spacer included allows for tandem FeatherBoard operations, offering more flexibility for various woodworking tasks.
The Milescraft 1407 D/T Featherboard is an essential accessory designed to enhance your woodworking projects by ensuring consistent tension, holding power, and easy setup. Perfect for use with table saws, router tables, and band saws, this featherboard offers superior performance for precise cuts.
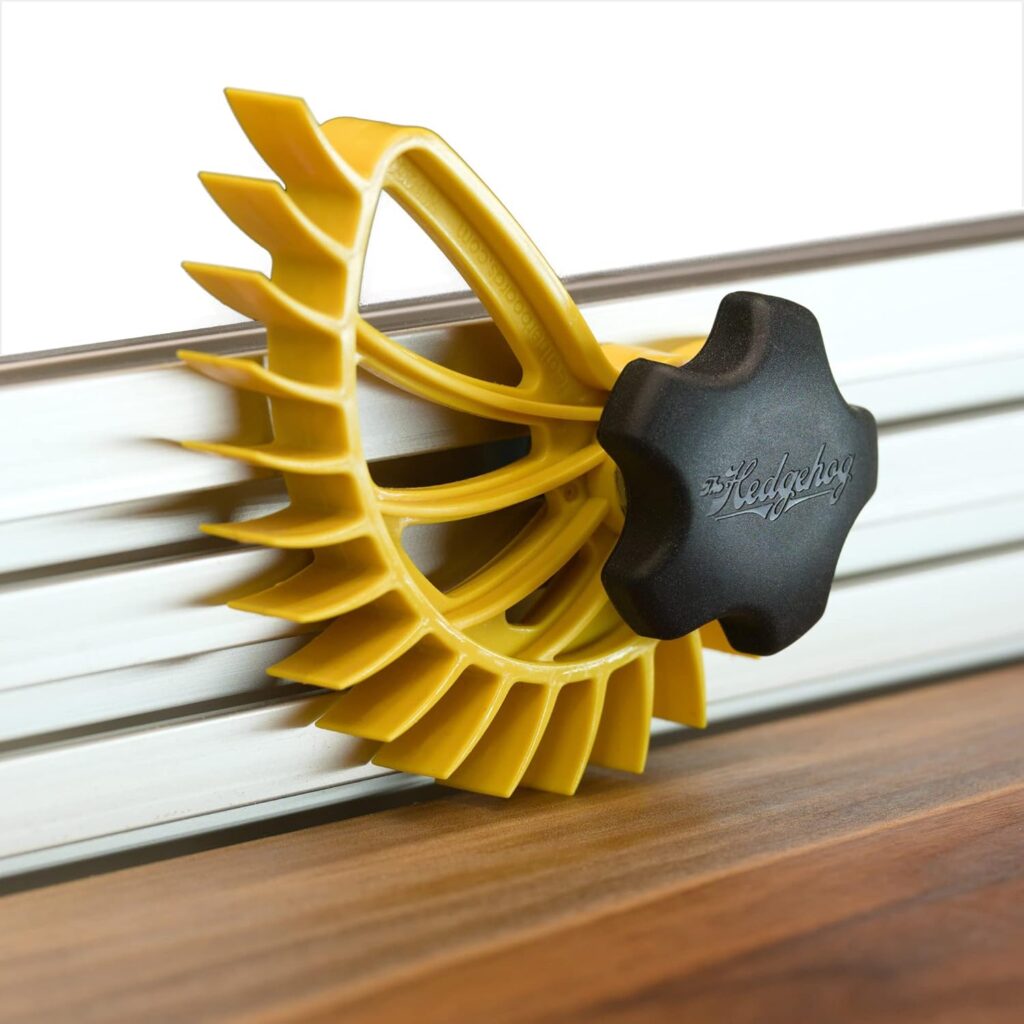
Mini Hedgehog Fence Featherboard
Check on AmazonKey Specs:
- Quick Adjustments: Just like the original Hedgehog, the Mini version features a spiral shape and a single knob for fast, easy adjustments, helping you set up quickly and efficiently.
- Vertical Fence Mount: Mounts vertically on your table saw fence to securely hold the wood down when making cuts like rabbets or dadoes, providing excellent control and safety.
- Standard 1/2″ Slot Fit: Includes a 1/4-20 T-bolt for mounting in a standard 1/2″ miter slot. If your fence lacks a T-slot, you can easily route a groove at the appropriate height to accommodate it.
- Router Table Compatibility: This featherboard is also compatible with router tables featuring a 1/2″ miter track, making it versatile for various woodworking setups.
- Two-Pack: Each package includes two Mini Hedgehogs, offering enhanced functionality and the ability to work on multiple setups at once.
- American Innovation: Designed and built in the USA by the family-owned Hedgehog brand, the Mini Hedgehog is protected by two U.S. patents, ensuring top-quality craftsmanship and innovation.
- Ideal for those looking to improve their woodworking efficiency with a compact, easy-to-use tool, the
- Mini Hedgehog Fence Featherboard is a must-have for woodworkers who value precision, safety, and versatility.
The Mini Hedgehog Fence Featherboard is a compact, versatile tool designed to enhance your woodworking precision and safety. Perfect for table saws and router tables, it ensures your workpiece stays securely in place during cuts, whether you’re cutting rabbets, dadoes, or other types of joinery.
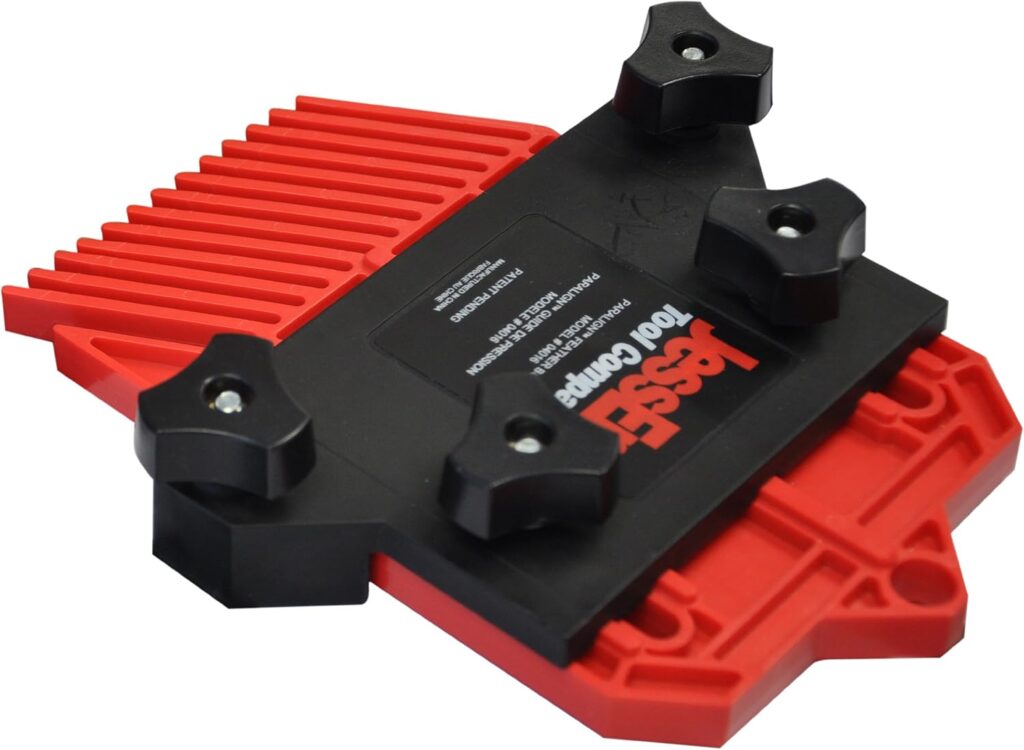
JessEm 4015 Feather Board Single
Check on AmazonKey Specs:
- Dual Mounting Options: The single pack includes additional T-bolts, allowing you to mount the featherboard vertically or in a miter track, enhancing its flexibility for different setups.
- Stackable Design: You can stack multiple featherboards for taller stock or workpieces, making it suitable for a variety of woodworking tasks, from smaller to larger materials.
- High Impact Molded Plastic Construction: Built from durable, high-impact molded plastic, this featherboard is designed to withstand tough working conditions while providing reliable performance.
- Non-Marring Feather Tips: The molded feather tips have rounded edges, ensuring they do not mark or damage the surface of your workpiece, keeping your projects clean and professional.
- Separate Adjustments for Miter Track and Workpiece: The featherboard allows independent adjustments for the miter track and the workpiece, giving you greater control and accuracy during use.
The JessEm 4015 Feather Board Single is an excellent tool designed to improve the precision and safety of your woodworking projects. It’s versatile, durable, and easy to adjust for a wide range of applications.
In woodworking, a featherboard is an essential tool that helps ensure both safety and precision when cutting. By keeping your workpiece firmly pressed against the fence or table, it reduces the chance of kickback, improves accuracy, and allows for smoother cuts. However, like any tool, using a featherboard incorrectly can lead to frustrating mistakes that affect the quality of your work and your safety. In this post, we’ll explore some common featherboard mistakes, why they happen, and how to fix them. Whether you’re a seasoned woodworker or just starting, understanding the nuances of featherboard use is key to achieving cleaner cuts and safer operation in your workshop.
Mistake #1: Incorrect Alignment of the Featherboard
Proper alignment of the featherboard is crucial for both cutting accuracy and safety. When the featherboard is misaligned, it can create uneven pressure on the workpiece, leading to inaccurate cuts or even kickback—one of the most dangerous hazards in woodworking. Additionally, improper alignment can cause the piece to shift during the cut, potentially leading to binding or binding of the saw blade, which could damage both the material and your tools.
How to fix it:
- Check the positioning: The featherboard should be parallel to the fence or table. Ensure it’s angled slightly to apply pressure toward the fence.
- Adjust the angle: If your featherboard isn’t positioned at the right angle, loosen the knobs and reposition it. The pressure needs to be directed evenly across the workpiece for stable results.
- Test before cutting: After adjustments, do a test cut with scrap wood to confirm that the pressure is consistent across the entire piece. Make sure the featherboard is neither too tight nor too loose against the workpiece.
By carefully aligning your featherboard, you not only improve the accuracy of your cuts but also minimize the risk of accidents in the workshop.
Mistake #2: Using the Wrong Type of Featherboard
Not all featherboards are created equal, and selecting the wrong type for your specific project can lead to instability and poor cutting results. Featherboards come in various forms, including portable, fixed, and magnetic models. Each type is suited for different cutting applications, and using the wrong one can affect the quality of the cut and compromise safety. For example, a portable featherboard might not provide enough pressure for a larger or thicker workpiece, while a magnetic featherboard may not be suitable for non-ferrous materials or certain tools.
How to fix it:
- Assess your project: If you’re working with large panels or thick stock, a fixed featherboard will offer more stability. For smaller projects or if you need easy repositioning, a portable or magnetic model might be the right choice.
- Consider material compatibility: Make sure the featherboard you select is compatible with the type of material you’re working with. Some featherboards may not work effectively with softwoods, plastics, or non-ferrous metals.
- Match the featherboard to the tool: The right featherboard should fit securely on your saw or router table. Ensure that your chosen model is designed to be used with your specific equipment.
Choosing the right featherboard type can make a huge difference in both the ease of use and the quality of your cuts. If you find your featherboard isn’t offering enough stability or accuracy, it’s time to reevaluate your choice and switch to a better-suited option.
4. Mistake #3: Applying Too Much Pressure
Another common mistake when using a featherboard is over-tightening it or applying too much pressure to the workpiece. While it might seem logical to press down firmly to prevent any movement, excessive force can actually cause problems. Too much pressure can distort the workpiece, lead to uneven cuts, or even cause premature wear on both the tool and the featherboard itself. Additionally, over-tightening can increase the likelihood of causing a “push-back” or snag, which can interfere with the cut and even damage your blade.
How to fix it:
- Apply moderate pressure: The featherboard should be applied with enough pressure to hold the workpiece firmly, but not so much that it distorts the material. Adjust the tension until the featherboard is snug but doesn’t squeeze or pinch the workpiece.
- Use gradual adjustments: Instead of over-tightening the featherboard in one go, gradually adjust the pressure, making small tweaks as needed. This will allow you to gauge the proper amount of force without overdoing it.
- Check during operation: While cutting, periodically check the workpiece for signs of excessive pressure. If you notice any irregularities, stop and readjust the featherboard.