Mastering the Disc Sander: 5 Pro Tips for Optimal Results
So, you’ve got a disc sander in your workshop, but are you making the most of this powerful tool? A disc sander is a handy piece of equipment used for sanding and smoothing various materials like wood, metal, and plastic. Its rotating abrasive disc can quickly grind away rough edges, making your projects look polished and professional.
Using a disc sander correctly is crucial for achieving optimal results. Whether you’re a seasoned woodworker or a DIY enthusiast, mastering the art of disc sanding can take your craftsmanship to the next level.
Our Top Disc Sander Picks
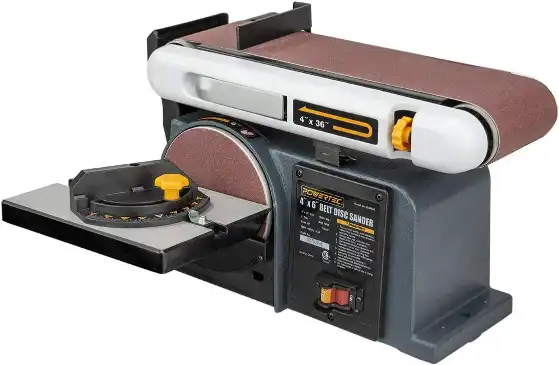
Powertec BD4600 Disc Sander
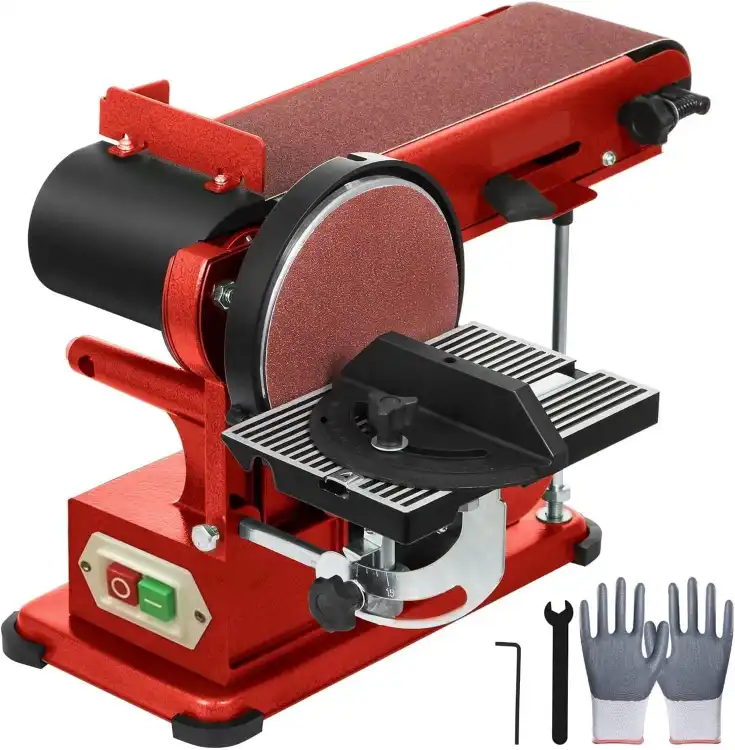
Check on AmazonKey Specs:
- Motor Power: 1/2 HP, 4.3 Amp induction motor
- Belt Speed: 1900 FPM
- Disc Speed: 3600 RPM
- Belt Tilt Range: 0°-90°
- Table Tilt: 0°-45°
The POWERTEC BD4600 Belt Disc Sander is a versatile and powerful tool designed for precision sanding. I appreciate the sturdy cast iron base, which minimizes vibration for smooth operation. The 4” x 36” sanding belt offers 0°-90° tilt adjustability, making it ideal for both flat and angled sanding. The 6” sanding disc is complemented by a cast aluminum work table that tilts up to 45 degrees. The quick-release tension lever allows fast belt changes, while the 2-1/4” dust port ensures efficient dust collection.
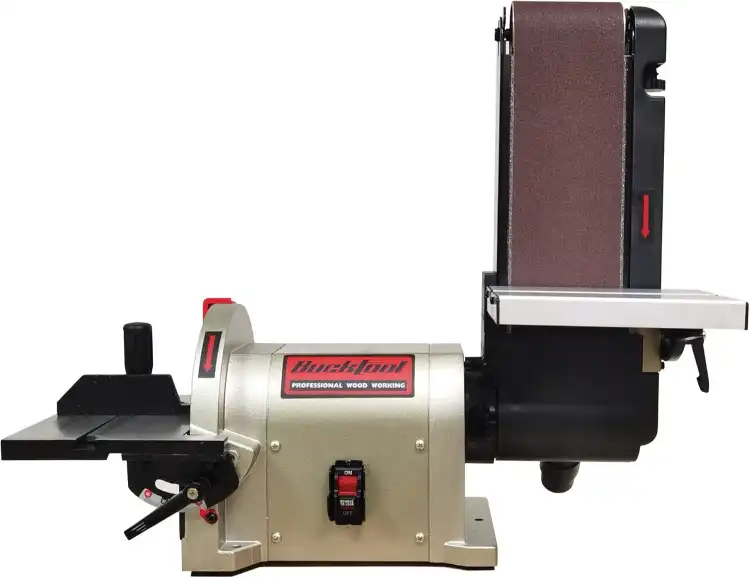
Bucktool BD4801 Disc Sander
Check on AmazonKey Specs:
- Motor Power: 3/4 HP, 5.0 Amp direct-drive motor
- Disc Speed: 3450 RPM
- Belt Placement: Horizontal/Vertical
- Work Table Tilt: 0°-45°
- Dust Collection: Dual 2” dust ports
The BUCKTOOL BD4801 is a direct-drive belt and disc sander built for power and stability. Unlike traditional models with belt-driven motors, this unit’s 3/4 HP motor is directly attached to the shaft, delivering 3450 RPM disc speed with no power loss. The 4” x 36” belt can be used horizontally or vertically, and the 8” sanding disc is housed in a heavy steel cover to prevent vibration. The dual cast aluminum work tables and dual dust ports make it a professional-grade addition to any shop.
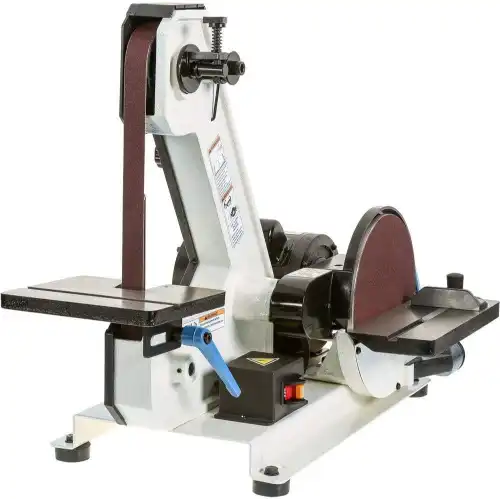
Shop Fox W1850 Disc Sander
Check on AmazonKey Specs:
- Motor: 1/3 HP, 120V, 1725 RPM
- Belt Size: 1” x 42”, speed 3000 FPM
- Disc Size: 8” diameter
- Table Tilt: 0-45°
- Dust Collection: Two 2” ports
The Shop Fox W1850 is a versatile combination belt and disc sander designed for precision and durability. Its cast-iron construction ensures stability, while the 1/3 HP capacitor-start induction motor delivers steady power at 1725 RPM. The 1” x 42” belt runs at 3000 FPM, making it ideal for fine detail work, sharpening, and contour sanding. The two tilting cast-iron tables (0-45°) with miter slots enhance accuracy, and the dual 2” dust ports provide efficient dust collection.
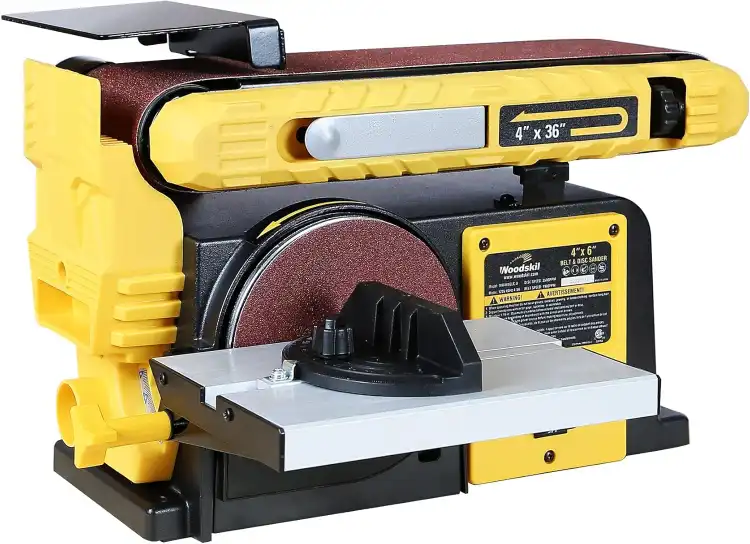
Woodskil 4.5-Amp Disc Sander
Check on AmazonKey Specs:
- Motor: 3/4HP, 4.5A, 110V
- Belt Speed: 1900 FPM
- Disc Speed: 3590 RPM
- Belt Tilt: 0-90°
- Table Tilt: 0-45° with miter gauge
The Woodskil 4.5-Amp Belt Disc Sander is built for precision and efficiency. Its 3/4HP motor delivers steady power with 3590 RPM disc speed and 1900 FPM belt speed, ensuring smooth material removal. The adjustable belt (0-90°) allows for horizontal and vertical sanding, making it ideal for various workpieces. The work table with miter gauge tilts 0-45°, providing precision for bevel sanding. A fast belt replacement system and sturdy base enhance ease of use and stability.
Happybuy Belt Disc Sander
Check on AmazonKey Specs:
- Motor: 375W pure copper
- Belt Size: 4″ x 36″
- Disc Size: 6″
- Maximum Speed: 1450 RPM
- Dust Collection: Built-in dual ports
The Happybuy Belt Disc Sander is a versatile and efficient tool designed for precision sanding. Its 375W pure copper motor delivers smooth performance with low energy consumption, making it ideal for detailed woodworking and metal polishing. The heavy-duty steel construction ensures long-term durability, while the rubberized base minimizes vibrations for stable operation. With built-in dust collection ports, it keeps your workspace clean. The adjustable sanding belt (horizontal & vertical) and miter gauge offer excellent flexibility for various sanding applications.
Tip 1: Choose the Right Grit Sandpaper
When it comes to sandpaper, the grit level matters. Grit refers to the number of abrasive particles per square inch of the sandpaper. Lower grit numbers indicate coarser sandpaper, while higher numbers represent finer grits for smoother finishes.
To select the appropriate grit for your task, consider the material you’re sanding. Coarse grits like 40-80 are ideal for rough shaping and removing paint, while medium grits (100-150) work well for general sanding. Fine grits (180-240) are perfect for finishing touches and achieving a smooth surface.
| Grit Level | Usage |
|---|---|
| 40-80 | Rough shaping, paint removal |
| 100-150 | General sanding |
| 180-240 | Finishing touches, smooth surface |
Choosing the right grit can significantly impact the quality of your finish, so make sure to match the sandpaper grit to your project’s needs.
Tip 2: Proper Safety Precautions
Safety first! When operating a disc sander, always wear appropriate safety gear such as goggles to protect your eyes from flying debris and a dust mask to prevent inhaling harmful particles. Additionally, ensure your workspace is well-ventilated to minimize dust buildup.
To maintain a safe working environment, keep the sander’s work area clean and clutter-free. Avoid loose clothing and jewelry that could get caught in the machine, and never operate the sander with wet hands to prevent electric shock.
- Wear goggles and a dust mask
- Keep workspace clean and well-ventilated
- Avoid loose clothing and wet hands
Common safety hazards associated with disc sanders include kickback, where the material being sanded is forcefully ejected back towards the operator, and overheating due to prolonged use. Stay safe to enjoy your sanding projects without any mishaps!
Tip 3: Understanding Speed Settings
The speed at which the disc sander operates can affect the sanding results. Higher speeds are suitable for rough sanding and material removal, while lower speeds are ideal for finer finishes and delicate materials. Adjust the speed settings on your disc sander according to the task at hand.
Optimizing speed settings based on the material being sanded is crucial. For example, hardwoods may require a slower speed to prevent burning, while metals can withstand higher speeds for efficient grinding.
- Higher speeds for rough sanding
- Lower speeds for finer finishes
- Adjust speed based on material type
By understanding and utilizing the speed settings effectively, you can achieve the desired results without damaging your workpiece.
Tip 4: Consistent Pressure and Movement
Consistency is key when it comes to applying pressure while using a disc sander. Avoid pressing too hard, as it can lead to uneven sanding or even gouging the material. Instead, maintain a steady and even pressure to achieve smooth and uniform results.
Practice proper sanding techniques, such as moving the material across the disc in a fluid motion. Avoid staying in one spot for too long to prevent over-sanding and creating dips or grooves in the surface.
- Apply consistent pressure
- Use fluid and even movements
- Avoid over-sanding or creating uneven surfaces
By mastering the art of applying pressure and movement, you can ensure a professional finish on your projects every time.
Tip 5: Regular Maintenance and Cleaning
Keeping your disc sander clean and well-maintained is essential for its longevity and performance. Regularly clean the sanding disc and dust collection system to prevent buildup that can affect the sander’s efficiency.
Properly lubricate moving parts and check for any signs of wear or damage. Replace worn-out parts promptly to avoid compromising the sander’s functionality. By investing time in maintenance, you can extend the lifespan of your disc sander and enjoy consistent results.
- Clean the sanding disc and dust collection system
- Lubricate moving parts regularly
- Replace worn-out parts promptly
Remember, a well-maintained disc sander is a happy disc sander!
Conclusion
There you have it, five pro tips to help you make the most of your disc sander and achieve optimal results in your projects. By choosing the right sandpaper grit, prioritizing safety, understanding speed settings, applying consistent pressure and movement, and maintaining your sander, you can elevate your woodworking game to new heights!
Practice these tips, experiment with different techniques, and don’t be afraid to get creative with your sanding projects. With time and dedication, you’ll become a disc sanding master in no time!
FAQ
How often should I replace the sandpaper on my disc sander?
It’s recommended to replace the sandpaper on your disc sander when it becomes worn or clogged with debris. Regularly inspect the sandpaper for signs of wear and tear to ensure optimal sanding performance.
Can I use a disc sander for metalworking projects?
Yes, disc sanders are versatile tools that can be used for metalworking projects. However, it’s essential to use the appropriate sandpaper grit and speed settings to avoid damaging the metal surface.